
How to make a Drone at Home | Making a Drone using Arduino UNO in 2020 | With Code and Materials
Making a Drone using Arduino UNO
-Article By:
Shubham Sagar
PROJECT OVERVIEW:-
A Drone is an aircraft without a human pilot onboard and a type of unmanned vehicle. Drones are a component of an unmanned aircraft system (UAS); which includes a ground-based controller, a flight control system, and a system of communications between the two. The flight of Drones may operate with various degrees of autonomy, either under remote control by a human operator or autonomously by onboard computers i.e microcontrollers (Arduino)
Drone's s use is rapidly expanding to commercial, scientific recreational, and other applications such as policing and surveillance, product delivery, photography, infrastructure inspection.
As stated above that a Done can be controlled by a robot externally or internally or remote control or by onboard computers like microcontrollers. So, in this project, we will be using microprocessors or controllers to create a Drone.
How do the Drones Works?
Below, we discuss UAV technology on the most popular drones on the market, which have all the latest drone technology. Most UAV drones will have very similar systems incorporated.
Also included is the latest list of top drones with cameras on the market right now.
Unmanned aerial vehicle technology covers everything from the aerodynamics of the drone, materials in the manufacture of the physical UAV, to the circuit boards, chipset and software, which are the brains of the drone.
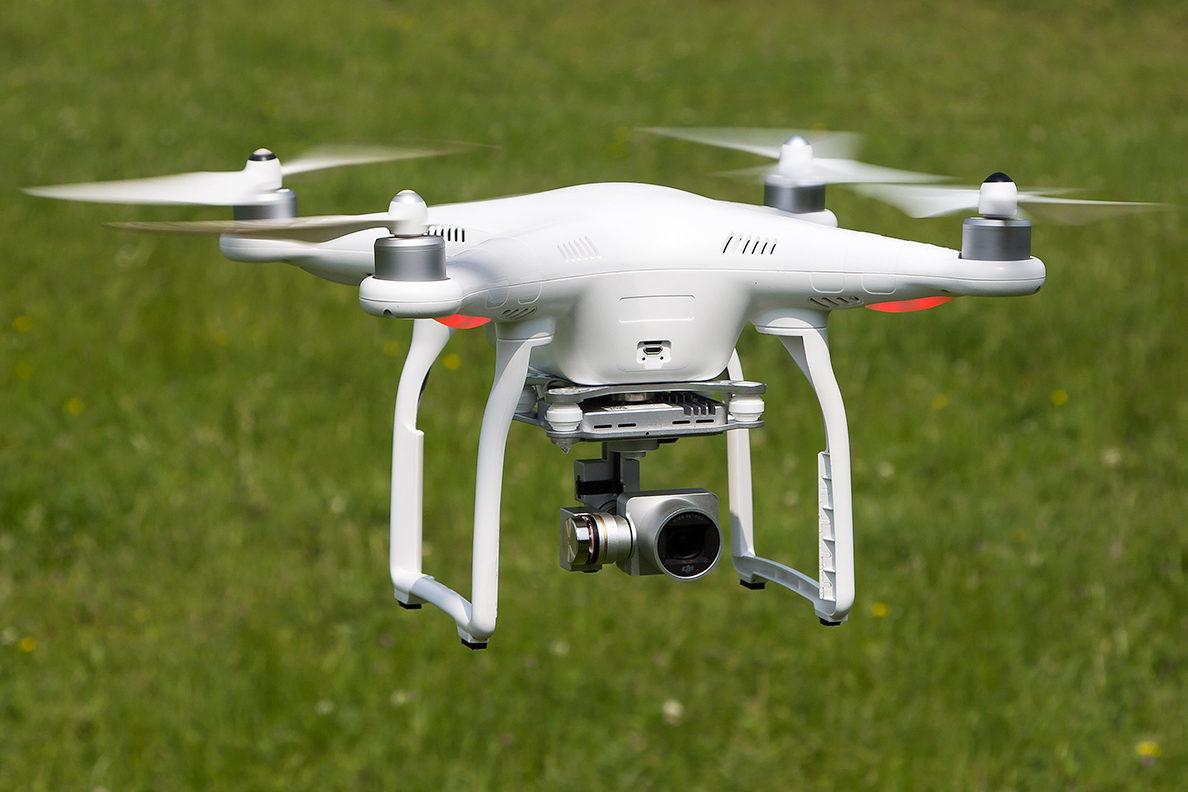
One of the most popular drones on the market is the DJI Phantom series. These drones are very popular with professional aerial cinematographers.
This Phantom UAVs are ideal to explain drone technology because they have everything in one package. It includes the UAV, gimbal, and camera. They also have some of the top drone technology on the market today.
How Drones Work
A typical unmanned aircraft is made of light composite materials to reduce weight and increase maneuverability. This composite material strength allows military drones to cruise at extremely high altitudes.
UAV drones are equipped with a different state of the art technology such as infrared cameras, GPS, and laser (consumer, commercial, and military UAV). Drones are controlled by remote ground control systems (GSC) and also referred to as a ground cockpit.
An unmanned aerial vehicle system has two parts, the drone itself and the control system.
The nose of the unmanned aerial vehicle is where all the sensors and navigational systems are present. The rest of the body is full of drone technology systems since there is no space required to accommodate humans.
The engineering materials used to build the drone are highly complex composites designed to absorb vibration, which decreases the sound produced. These materials are very lightweight.
What Is A Drone And UAV Technology
Below we examine the science and drone technology behind the DJI Phantom UAV. We also have plenty of information on the latest drone technologies from the newest drones on the market.
There are plenty of links, where you can read deeper into various components of drone technology
How do Drones Fly?
Drones can be controlled remotely, often from a smartphone or tablet. Wireless connectivity lets pilots view the drone and its surroundings from a birds-eye perspective. Users can also leverage apps to pre-program specific GPS coordinates and create an automated flight path for the drone. Another handy wirelessly-enabled feature is the ability to track battery charge in real-time, an important consideration since drones use smaller batteries to keep their weight low.Rotors
A drone relies on rotors for its vertical motion. Drones use their rotors—which consist of a propeller attached to a motor—to hover, meaning the downward thrust of the drone is equal to the gravitational pull working against it; climb, when pilots increase the speed until the rotors produce an upward force greater than gravity; and descend, when pilots perform the opposite and decrease speed.
To hover, two of a drone’s four rotors move clockwise, while the other two move counterclockwise, ensuring that the sideways momentum of the drone remains balanced. To avoid throwing its vertical motion off-kilter, the other two rotors on the drone will increase their spin. The same principle applies to move forward and backward—the rotors of the drone must apply thrust while making sure the spin of the rotors keeps the drone balanced.
Accelerometer and Altimeter
Materials Required:-
1.Arduino UNO Board

Buy Link: https://amzn.to/3mUOxBB
https://amzn.to/3cAzJmJ
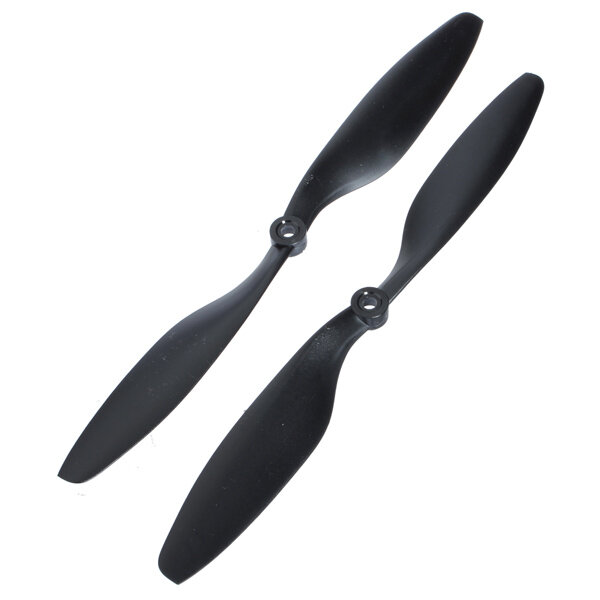
2.Propellers (4)
3.Frame for Drone

4.Motor

Buy Link: https://amzn.to/3i84XD1
5. 4 Lipo Batteries

Buy Link: https://amzn.to/2FVt8HW
6. RC Receiver & Transmitter for Drone![]()
7.MPU6050
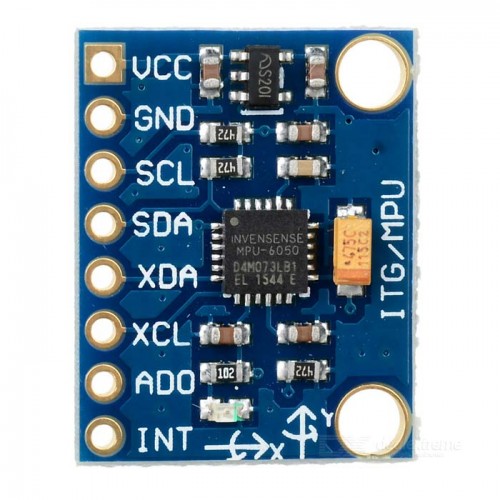
Buy Link: https://amzn.to/3cA1QTa
8.ESC

Buy Link: https://amzn.to/3cz11tG


Can i buy your Drone premade from you??
ReplyDeletePlease add your link in your reply as I just want o see of ot works!!!